
Flow
When I have some extra time in my schedule, I enjoy taking a yoga or a tai chi class. It is a wonderful way to relax, practice meditation and get in touch with the flow of energy through our physical selves and the universe. We allow ourselves to stretch, to breathe and to move slowly and purposefully through the space around us. Our minds and bodies crave this balance, movement and flow.
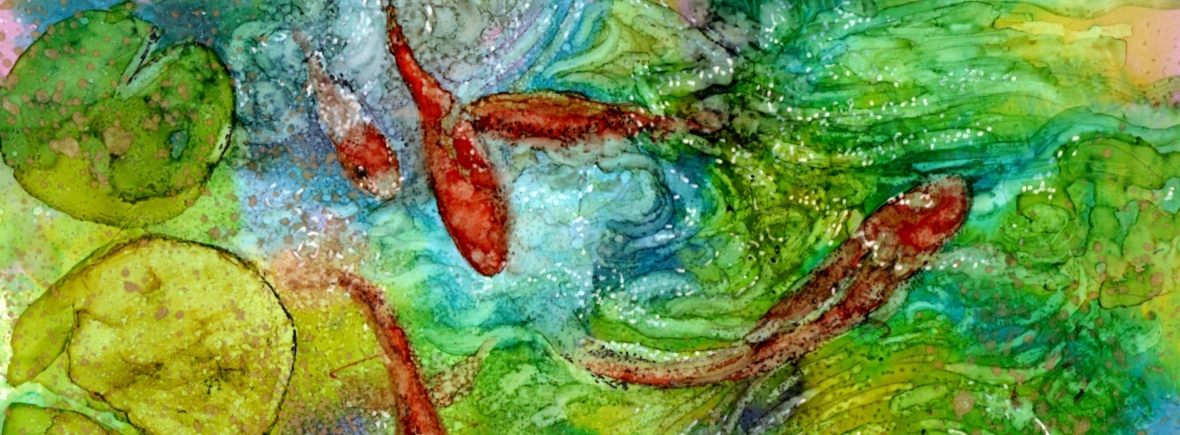
Koi fish, featured in our first painting this week, are a way nature expresses these ideals. When you watch koi swim, their movements are almost hypnotic – gliding gracefully, interacting with each other and the water and always in motion.
Ink is amazing vehicle to capture what this moment feels like. We are transported to this pond through the use of color. The perspective gives us a view of each fish in constant motion. And most magically, the nature of the ink allows the water to come alive with movement and vibrancy. It is both tranquil and effervescently alive.
May flow enter your life this week – in your body, your mind and your paintings.
Creative Spark
- The flow of water – a babbling brook or wave moving on shore
- The effects of flowing air and water – a smooth canyon wall or rounded stream stones
- A volcanos fiery flow
Dancing Koi

About this painting: Dancing Koi is a simple lifted piece. While I did make an initial sketch, this step can be skipped to allow the pattern of the background ink to determine the location of the fish. Lifting the reflections in the water with either the brush or an alcohol ink marker gives a nice sense of movement to the painting.
Challenge Level: ✮✰✰
Why: Without masking or a detailed drawing, this fun painting simply goes with the flow!
Predominant technique: Lifting and direct painting
Inks: Citrus, Pool, Pink Sherbet, Eggplant, Stream, Sunset Orange, Red Pepper
Reference image: None
Project Steps:
- Lightly sketch koi shapes on Yupo in pencil
- Drop ink on the paper, allowing the colors to merge
- Blot excess ink and fill in white areas with a tissue or similar
- Use the brush and alcohol to lift out koi shapes
- Brush in a layer of orange ink (mine was a mixture of Sunset Orange and Red Pepper)
- Add the lily pads with Citrus
- Intensify the colors of the koi
- Lift lines of reflection in the water with the brush and alcohol
- Further refine the painting with alcohol ink markers
- Add a splatter of gold ink and alcohol
- Add final details with the black and white pens
- The white pen is toned back with a pale blue alcohol ink marker
Video Notes
This is an older non-narrated, but captioned video. I liked the music, so opted to skip the voiceover for this remake.
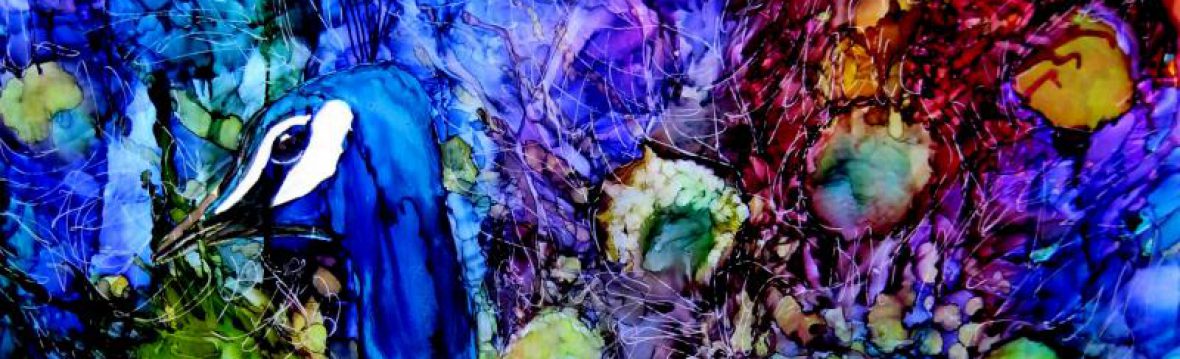
Betta Fish

About this painting: Directly painting on Yupo with a white background is rare for me. Surprisingly, I actually enjoyed it and found the process to be a lot faster too! While I’ll probably stick to my normal approach to ink painting, it is nice to explore and branch out! Another aspect of this piece to point out is the limited, complementary color scheme – in the video, you’ll see my new clean palette with an array of oranges and turquoises.
Challenge Level: ✮✮✰
Why: Keeping white paper clean is always a challenge.
Predominant technique: Direct painting
Inks: Peach Bellini, Turquoise, Slate, Eggplant, Aquamarine, Sunset Orange, Honeycomb
Reference image: https://pixabay.com/en/animal-…
Project Steps:
- Sketch the main features of the fish with pencil on Yupo
- Lighten the pencil lines with alcohol and the cotton ball (Note: in the video steps 2 and 3 are reversed…but this was unwise)
- Using a larger than normal brush (for me) paint in the tail of the fish beginning with a pale layer of orange ink
- Add a layer of turquoise over the body of the fish and parts of the tail
- Paint darker values with slate
- Use the fine-tipped black pen to draw in the eye
- Dispense some eggplant and turquoise in to the welled palette to evaporate
- Add darks with the thickened eggplant and turquoise
- Use a marker to create the fish scale pattern on the body
- Add more blue ink to the tail
- Blend and lift with the cotton swab
- Add in more orange
- Lift and soften the tail with the smaller brush and alcohol
- Lighten the scales with the pointed swab and alcohol and add in additional scale texture
- Add darker and/or more intense ink into the tail and eye with the brush and ink
- Soften and lift highlights with the pointed swab and alcohol
- Add additional color as needed and soften
Video Notes
Throughout the video I alternate between brushes to control the flow of ink or alcohol.
