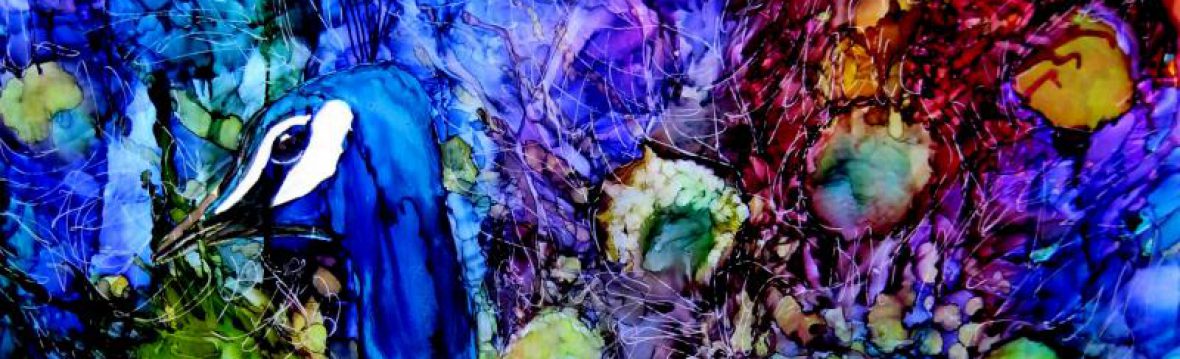
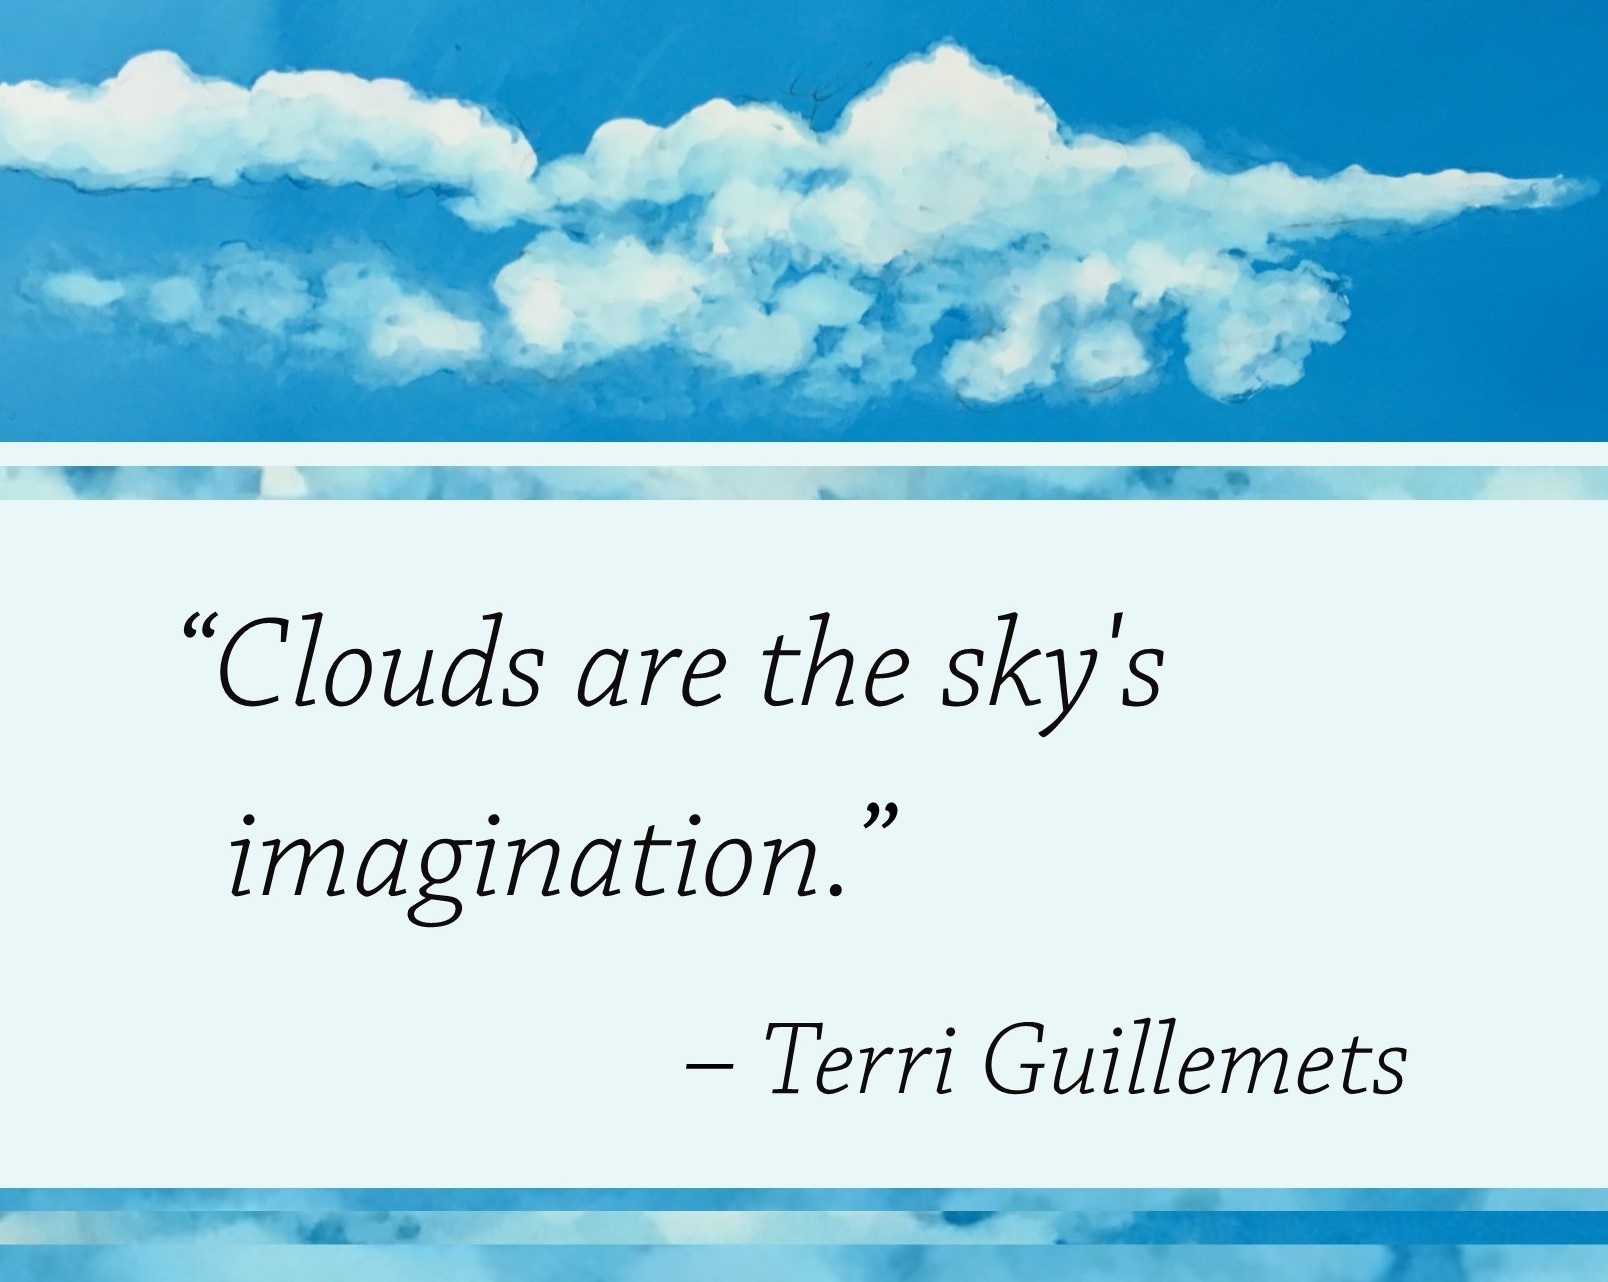
Clouds
A cloud can take you away on a voyage of imagination. Ever changing, like a dancing mediation, watching a cloudy sky can awaken and inspire your creativity.
One of the things I love most about being out on a sail is getting to marvel at the wide expanse of open sky. To match rhythms with the day – the breaking dawn, the crystal blue morning, the moody afternoons and the breathtaking sunsets. When I return home to paint these scenes, it is always the clouds that bring them to life. Clouds offer the artist reflection, color, texture, sculptural elements and a taste of mystery.
And while this week’s theme may make us wish to lazily daydream staring up at the sky, this is actually a week focused on technique. Clouds plays a vital role in our landscape paintings and understanding the ways to achieve the look you desire will make your painting planning and execution easier and more successful.
I hope that you enjoy this study of clouds and I look forward to seeing your sky paintings come alive.
Creative Sparks
- Sun rays through the clouds
- The view of the clouds from above
- The moon peeking through the clouds
Technique Week
This week, instead of featuring complete demonstration paintings, we’ll be looking at a variety of methods for creating clouds. I’ve deliberately kept the clouds simple with a limited palette. Of course, your clouds may be as colorful as you’d like.
I’ve included methods for both transparent and opaque ink depending on the style of painting you are creating and whether the clouds are intentional or a painting-saving after thought. The 5 methods here are:
- Wispy clouds – Transparent
- Wispy clouds – Opaque
- Lifted clouds
- Masked clouds
- Opaquely painted clouds
Happy cloud painting!
Wispy Clouds – 2 Methods
Transparent Method – Ink and Alcohol
Opaque Method – Snow Cap, Ink, and Alcohol
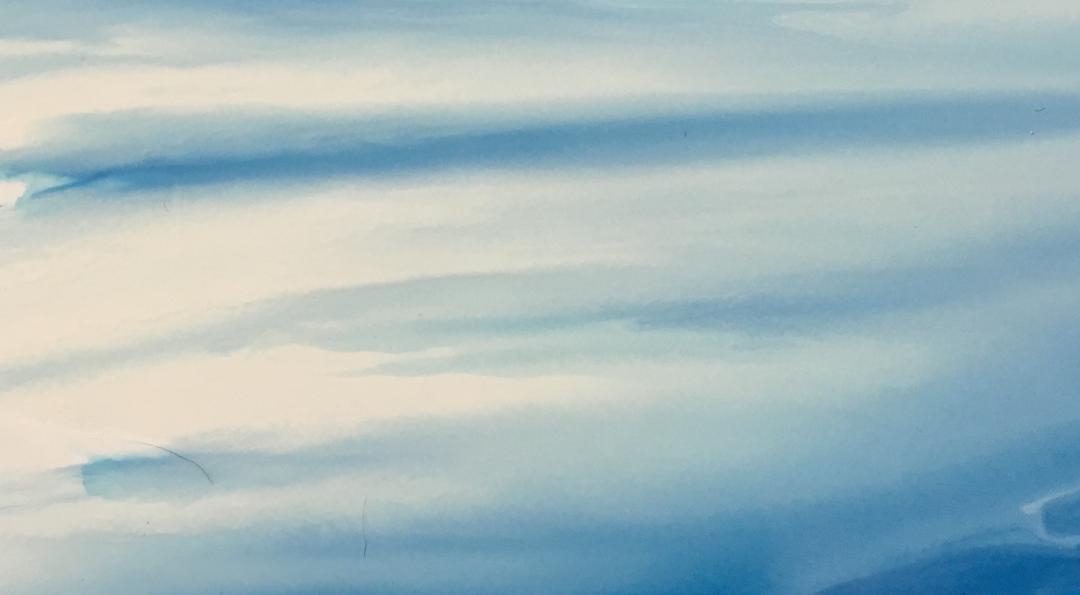
Wispy Clouds – 2 Methods
About these paintings: For wispy, undefined clouds, one can pour a simple background with varying shades of color. For transparent paintings, ink and alcohol are used. For a more vibrant white, the opaque snow cap ink may also be included.
Challenge Level: ✮✰✰
Why: The technique here is from Week 1 of the Technical Prelude – gradient ink flow – by now, it should be very familiar
Predominant technique: Poured ink
Inks: Sailboat Blue, Aqua and Snow Cap (for the opaque one)
Reference image – https://pixabay.com/photos/bal…
Project Steps:
Wispy Clouds – Transparent
- Begin with a thin layer of alcohol on the Yupo paper
- Add ink – I used Aqua and Sailboat blue
- Tilt the paper so that it is entirely covered with ink. Add alcohol as necessary and remove excess ink. Try to create a pattern with both light darker areas of blue to create a cloudy look.
- Allow to dry vertically
Wispy Clouds – Opaque
- Begin by adding Snow Cap ink to the paper
- Add Sailboat blue ink and tilt to mix
- Add alcohol as necessary to improve the flow so that the paper is covered. Use a brush or cotton swab to direct the flow.
- Remove excess ink and allow to dry vertically.
Lifted Clouds

About this painting: This cloud example shows a lifted method using two strengths of alcohol – 91% and a mixture of alcohol and water (appx. 60%). By varying the strength of alcohol one can create nearly white passages (the 91%) and softer edges that allow the cloud to blend better into the background.
Adding clouds to a painting by lifting is very useful – it can add interest, improve composition, and turn an mistake (such as an errant drop of alcohol) into a feature.
Challenge Level: ✮✮✰
Why: It is slightly challenging to find the strength of alcohol that allows for delicate soft lifting.
Predominant technique: Lifting from a solid inky background
Inks: Sailboat
Reference image: See downloadable
Project Steps:
- Create a sky background as in the Transparent Wispy Clouds above (ironically, I think this is a better example than the one above)
- Lift cloud shapes with the pointed swab and 91% alcohol
- Use the rounder, regular cotton swab and 91% alcohol to create rounder, puffier lifted shapes
- Create a mixture of water and alcohol that is about 60% – you’ll have to experiment to find the concentration that allows you to lift and create very soft edges. If it is too weak, you won’t be able to lift at all.
- Use the mixture to blend the clouds into the sky
- Create highlights in the clouds by lifting with the 91% alcohol
- Use a marker to dab in darker color to create shadows in the clouds
- Blend in the marker with the mixture of water and alcohol
- Continue lifting and adjusting the painting by using the 91% for highlights and the water-alcohol mixture for softening and blending into the sky
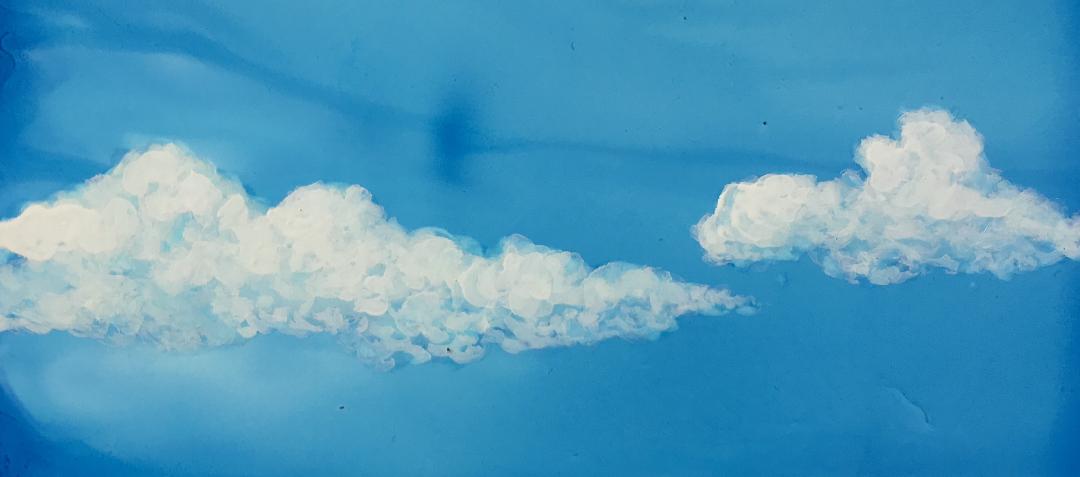
Masked Clouds
About this painting: For bright white clouds, planning ahead and using masking is a quick and simple approach that may be combined with soft lifting.
Challenge Level: ✮✰✰
Why: Masking allows one to preserve the lights and pre-define the shape of the clouds which gets one off to great start.
Predominant technique: Masking with a poured background and some lifting to blend
Inks: Sailboat, Cloudy Blue
Reference image: see downloadable
Project Steps:
- Lightly sketch the lightest parts of the cloud to be masked. Let dry
- Create a sky background as above with Sailboat and Alcohol. Let dry
- Remove the masking fluid
- Create a secondary lighter blue by brushing in Cloudy Blue – this will lift, integrate and add ink
- Lift and smooth cloud shapes with 91% alcohol and the pointed cotton swab
- Use the water-alcohol mixture from above (about 60%) to lift and soften the edges of the clouds
- Bring out lighter shades by lifting with the 91% alcohol
- Soften the edges of the clouds with the water-alcohol mixture
Snow Cap Clouds
About this painting: As an alternative to lifting and/or masking, one can select the opaque painting route and paint in the clouds with Snow Cap. This can be a planned decision or a fall-back to save a painting in distress
Challenge Level: ✮✰✰
Why: While Snow Cap can be challenging to work with, in this situation, the clouds were easy to paint.
Predominant technique: Direct painting over a poured background. Some lifting is recommended as the Snow Cap will absorb the colors underneath.
Inks: Sailboat
Reference image: see downloadable
Project Steps:
- Create a sky background as above with Sailboat and Alcohol. Let dry
- Lift out cloud shapes with 91% alcohol and the pointed cotton swab
- Use a brush to paint in Snow Cap over the clouds
- Continue to layer in Snow Cap to highlight and add dimension (as the Snow Cap dries it darkens, so multiple layers will be desirable)
